How To Get a Free Lifetime National Parks Pass
By April Hopcroft
 People with diabetes who are U.S. citizens or permanent residents can apply for an America the Beautiful Pass, which offers access to over 2,000 parks, monuments, and landmarks. Plus, national parks’ lover Alex Day, who has lived with type 1 diabetes for 20 years, shares tips for exercising outdoors safely.
While living with diabetes brings many daily challenges, there are a few special opportunities that you may not know about. One of these perks is the ability to obtain a lifetime National Park Pass for free.
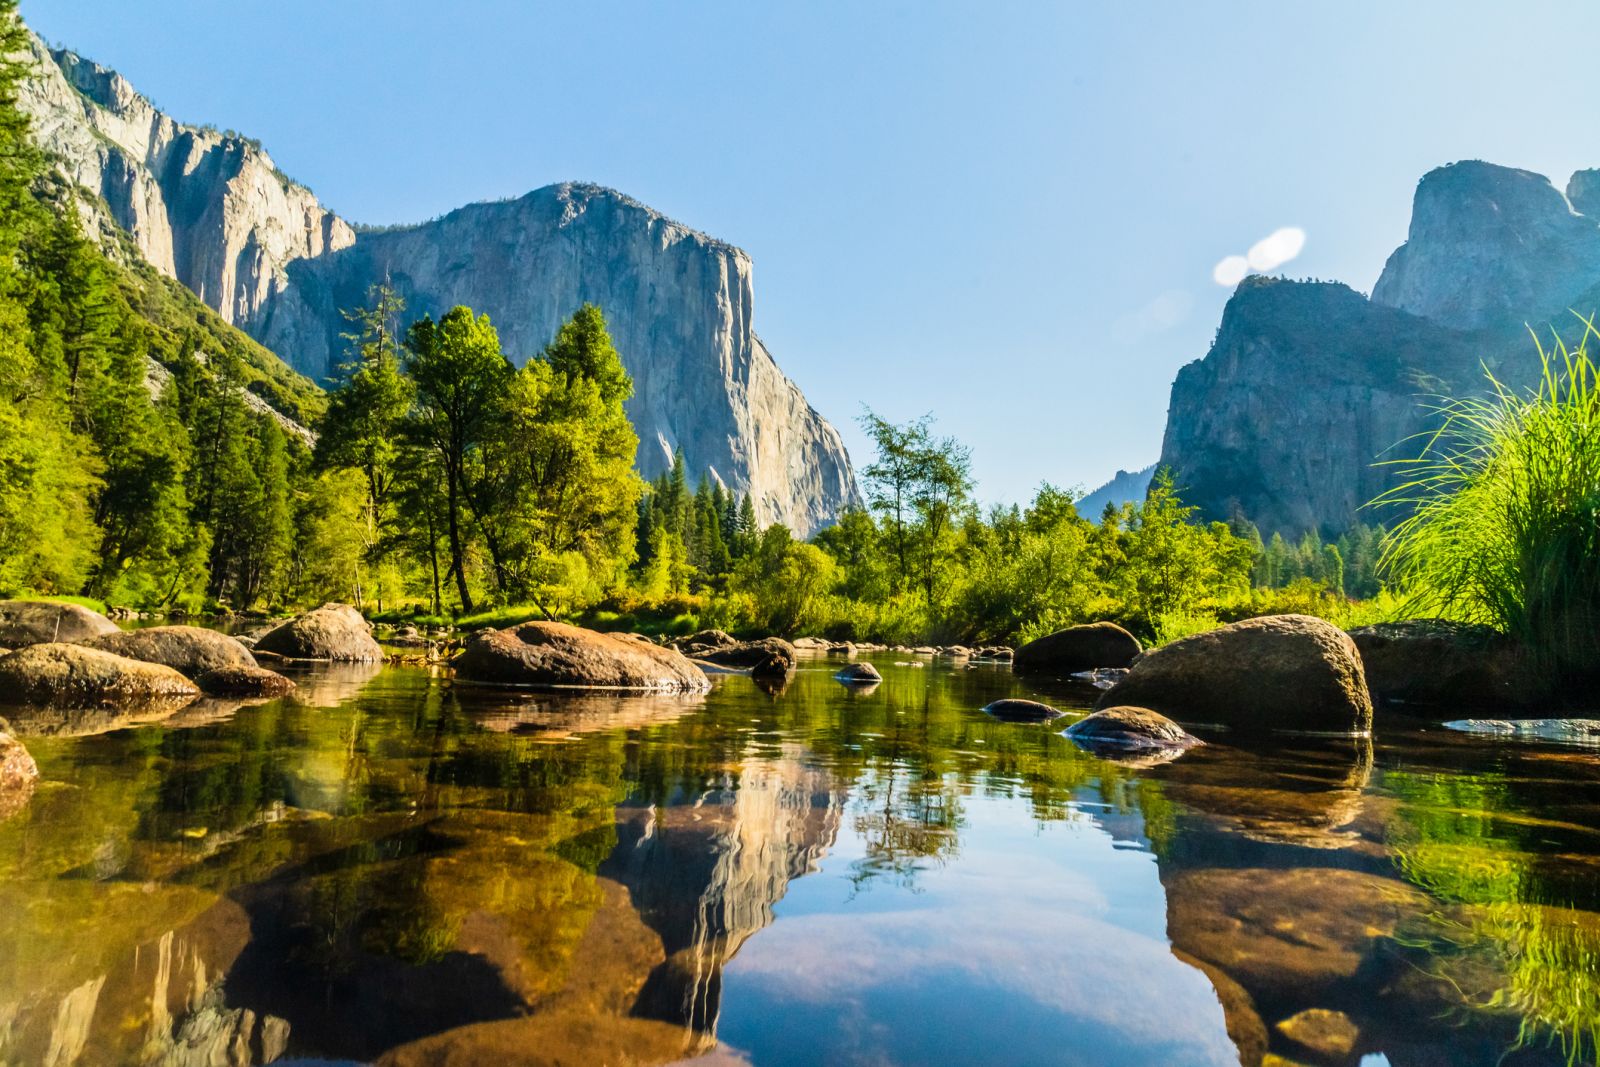
Called an Access Pass, this is a free lifetime version of the National Park Service’s (NPS) America the Beautiful Pass, which costs $80 per year. The pass provides access to over 2,000 federal recreation sites, from iconic National Parks – such as Yellowstone, Grand Canyon, and Yosemite – to historical sites, battlefields, and other landmarks.
National Parks are great places to go on a walk, hike, or bike ride while soaking in the fresh air with friends or loved ones. Indeed, physical activity has many benefits for diabetes care. For example, exercise lowers blood glucose during and for up to 24 hours afterwards, and can also stabilize post-meal blood sugar.
Physical activity has also been shown to improve mental health; movement of any form can be a good form of self-care. And most importantly, the benefits kick in right away – even short chunks of exercise can have positive effects on diabetes management.
Who’s eligible for an America the Beautiful Access Pass?
U.S. citizens or permanent residents with permanent disabilities are eligible. Diabetes is considered a disability because “it substantially limits the function of the endocrine system,” according to the American Diabetes Association.
To qualify, you must show one of the following forms of evidence of disability:
-
A statement by a licensed physician noting that you have a permanent disability, that it limits one or more aspects of your daily life, and the nature of those limitations.
-
A document issued by a federal agency, such as the Veteran's Administration, Social Security Disability Income, or Supplemental Security Income.
-
A document issued by a state agency, such as a vocational rehabilitation agency.
How do you apply?
There are three different ways to apply for your America the Beautiful Access Pass:
-
In person (free): Use this website to see where you can purchase a pass at a federal recreation site. It’s a good idea to contact the site ahead of time to confirm the current hours of operation and ensure that the pass is available at that specific location. This is the only option without additional processing fees.
-
Online ($10): Order your pass from the USGS Store. You’ll need to register for an account and will be charged $10 for processing. Plan to wait at least three weeks for order processing and delivery.
-
Mail ($10): Download, print, and fill out the following application form. You’ll need to pay $10 for processing, in addition to the cost of postage. Mail the completed form to the address on the form. Plan to wait at least three weeks for order processing and delivery.
Tips for getting outside with diabetes
Alex Day, director of marketing and communications at Washington’s National Park Fund, has lived with type 1 diabetes for over 20 years. During the COVID-19 pandemic, Day began exploring many parks and obtained her Access Pass while visiting Yellowstone National Park.
“I’m hoping more people with diabetes know they are eligible to receive the Access pass,” Day said. “It’s such an incredible way to experience National Parks, and it also covers other federal lands, National Forests, and Bureau of Land Management sites.”
.png)
1. Be prepared
Generally, Day said it’s a good idea to “calibrate your precautions to the level of challenge of your camping trip or hike.” Multi-day trips over varied terrain will require more advanced preparation and research, while an afternoon day hike may not require as much planning.
Before you head out, consider how different environmental conditions – such as altitude, sun exposure, and extreme weather – can affect diabetes management.
You may also want to research accessibility at your destination. Day said that the NPS has resources to help people with disabilities like impaired mobility and vision loss. For instance, many parks provide maps and illustrations showing how steep a trail is, which is essential information for people who use wheelchairs or have other mobility challenges.
Regardless of your plans, Day said she encourages people to talk to rangers at each National Park as they can provide a good overview of the trail and weather conditions.
2. Carry extra supplies
Rule number one is to “always, always, always have extra supplies,” Day said. For her, this includes extra insulin, test strips, and an entire set of manual supplies in case her DIY loop or continuous glucose monitor (CGM) stops working.
You may want to ask your healthcare provider for a prescription for extra manual supplies so that you can feel safe on the trail. It’s also a good idea to confirm your basal insulin dose, in case you need to switch off a pump and back to multiple daily injections.
People with diabetes should also be prepared for hypoglycemia. It’s a good idea to carry a bag of “low supplies,” including ready-to-use glucagon and snacks to quickly raise blood sugar. Day said she often reduces her basal rate slightly during hiking to reduce the risk of low blood sugar.
Ultimately, Day urged people with diabetes to “plan for the worst and hope for the best” when exercising outside and visiting national parks.
3. Eat a balanced breakfast
It’s important to eat a breakfast that has even carbs, fat, and protein before a long hike or other outdoor activity. Avoiding “spiky” carbs is especially important so that you minimize highs and lows and can focus on enjoying your time outside.
Speaking from personal experience, Day said she once ate a donut before her hike, which inevitably led to a blood sugar spike followed by a crash. Eating a breakfast that combines fat and protein reduces glucose spikes and can make exercise more manageable and enjoyable.
See a few recipe ideas below:
4. Store insulin and other diabetes medications properly
Every medication has an optimal temperature range listed on its packaging. When insulin is stored outside of the recommended temperatures, it can lose some of its glucose-lowering abilities.
Day said she learned the hard way not to leave insulin in the car, even if you think it's temperature-controlled. Weather can change quickly, and insulin left in the cooler could freeze, while insulin left in a hot car could become ineffective.
For hot hikes, bring a cooling case or pack and keep medications under a layer of clothes to protect them from the sun’s rays. Meanwhile, in cold weather, keep your diabetes supplies close to your skin, or in a warm, insulated container.
5. Take a buddy – it’s safer and more fun
It’s always better to hike with a friend, whether or not you have diabetes or a chronic health condition. Hiking with a buddy means you’ll have someone to troubleshoot unexpected events, from treating a minor scrape to getting lost to experiencing a diabetes emergency.
Ideally, the buddy would be “a trusted friend who can identify the signs of hypoglycemia and assist if needed,” Day said. If you plan to hike alone, it’s a good idea to choose a busier trail. That way, you know there are other people around in case of an emergency.
While you may need to do a little trial and error to optimize diabetes management for outdoor physical activities, Day said you shouldn’t let diabetes prevent you from getting out there.
“Don’t be afraid, go with a buddy, and don’t let diabetes hold you back,” she said. “Diabetes doesn’t have to be a barrier, especially to things like the great outdoors.”
Learn more about getting outside and exercising with diabetes:


